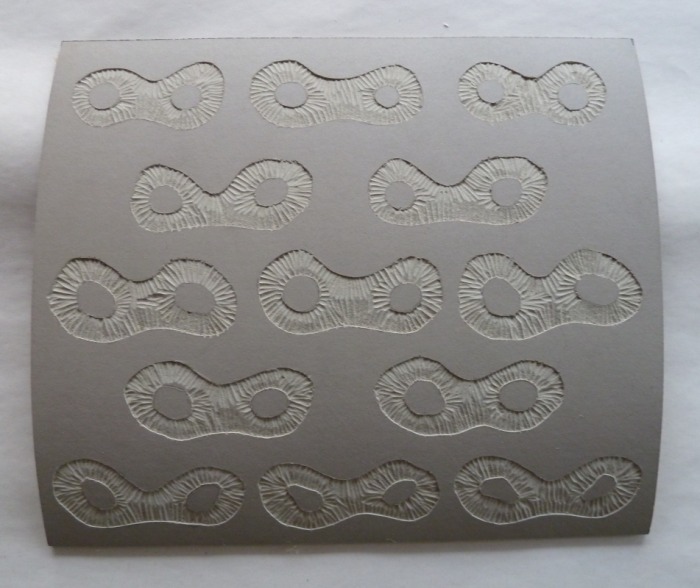
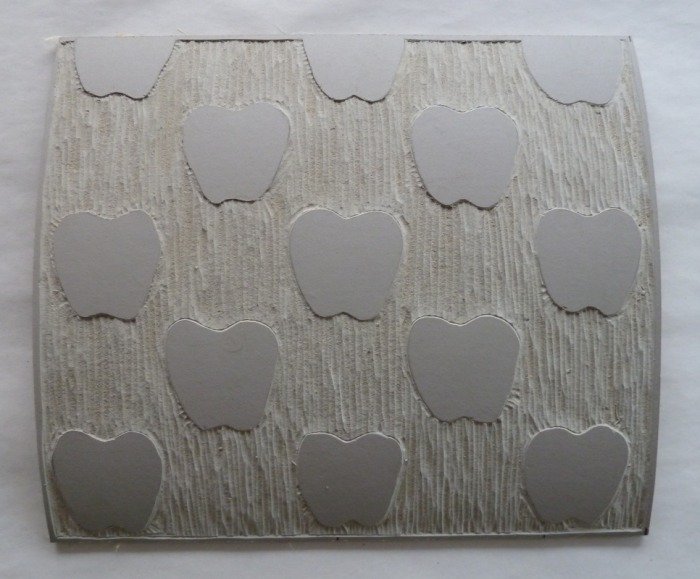
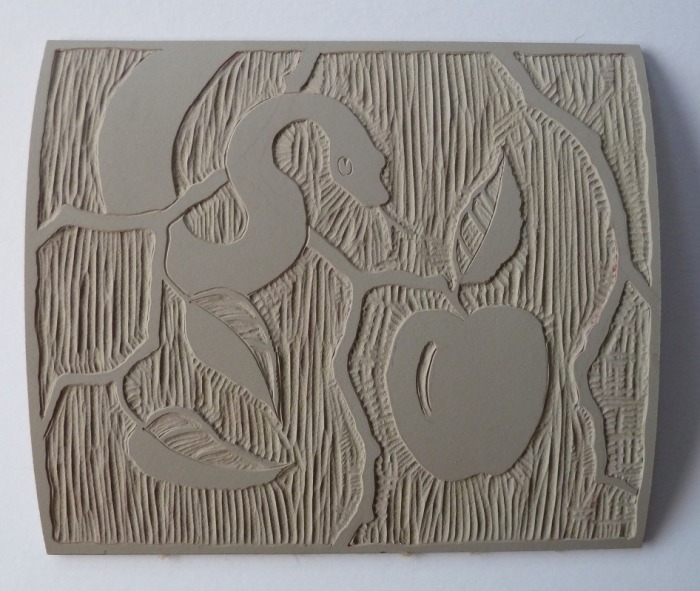
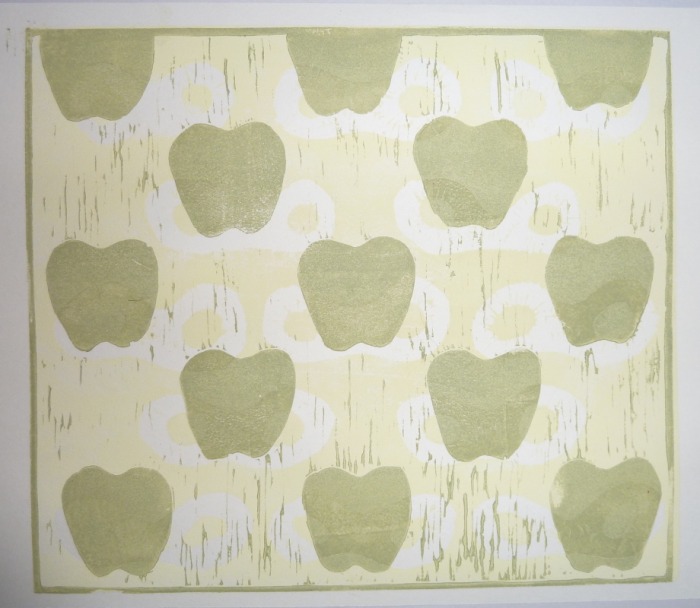
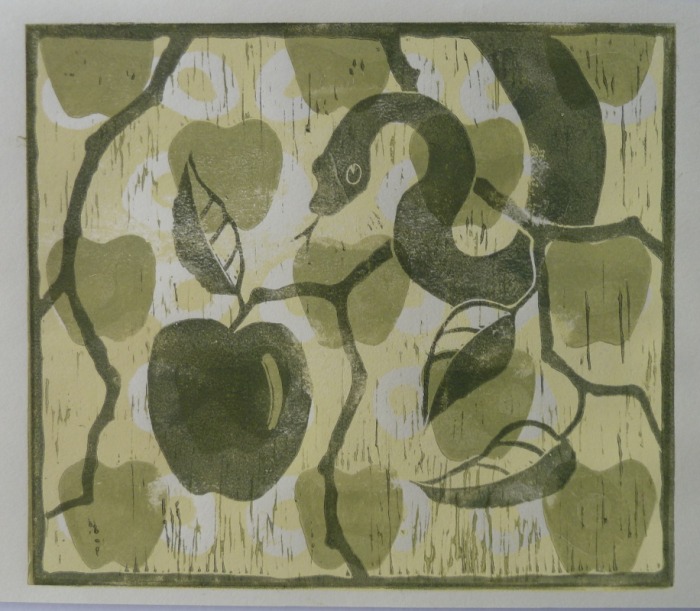
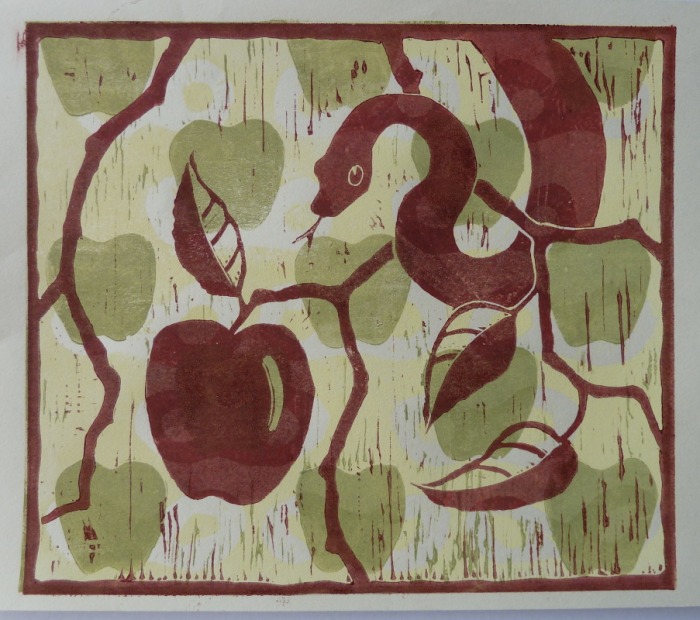
With thanks to Mariann I've been playing with printing three separate blocks on one piece of paper. It feels very refreshing after so many reduction block printing where you end up with a block which has very little lino left and is totally useless. You have to decide exactly how many prints you want right at the start.
With this method, the blocks could be printed again as you still have the three original blocks. I have included photos of the three blocks, a print using two blocks and two versions of the three block print. It certainly was time consuming cutting the blocks (three days), but such a lot of fun. Now I can cut some more blocks to "mix and match", combining them in different ways and printing in different colours. The possibilities are e
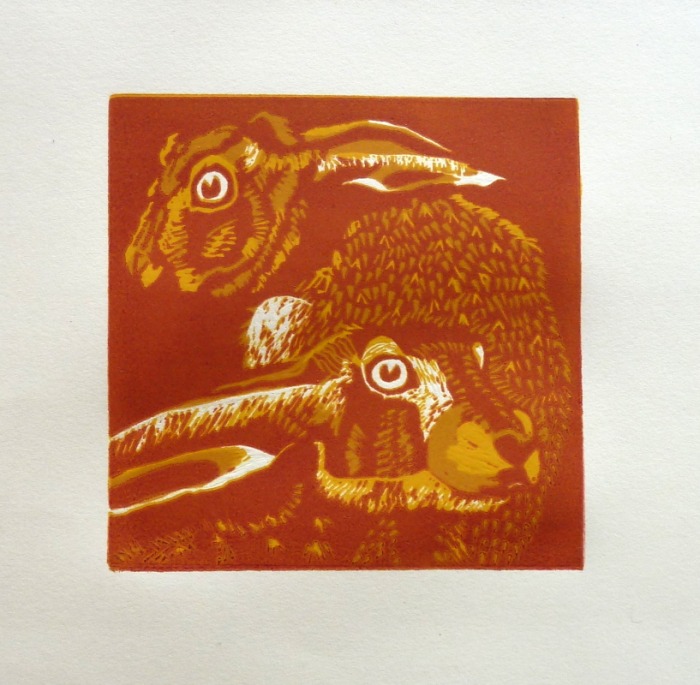
I have been continuing with the hares, though I haven't posted them here yet. The fifth layer went well, as I printed sepia oil based ink with a little extender. It really made the hares stand out and I liked the subtle ring round their eyes. Even the registration was working well, despite being a very simple "line it up against an L-shaped piece of card". Being small definitely helped - don't think I would risk it with a larger one.
As for the sixth layer... not quite so straightforward. I had done a couple of proofs with a minty green which I thought worked, but when I set about the edition, I hated the colour. I mixed five or six different shades, proofing each of them, but not being satisfied with any of them. So I stopped and went home to consider my next move. I don't know if it had anything to do with the fluorescent lights in the Workshop. I'll look at them again in daylight tomorrow when I return to the Workshop.
At the moment I think I might be tempted just leave it at layer five... maybe.
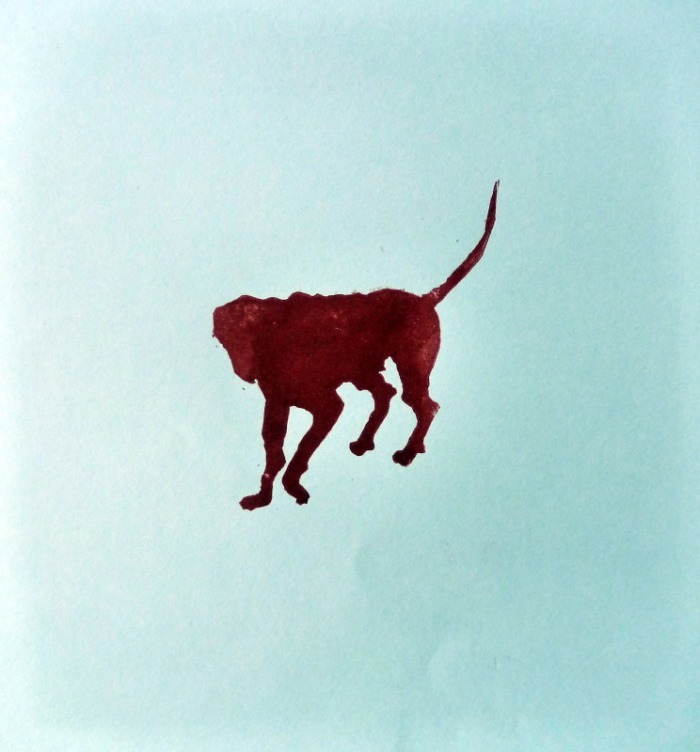
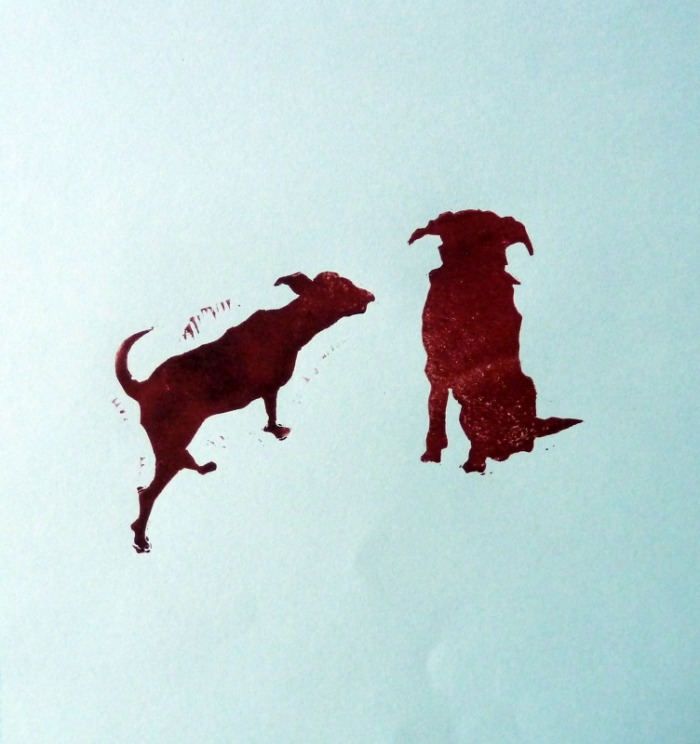
Had a litlle break from the hares today and cut out some dog silhouettes from lino. I worked for about 5 hours solid until the middle finger on my left hand (I'm left handed) went completely numb! Not good.
Time for a break, so the dogs and I went for a walk in the woods. The wind had been really strong and one of the big old trees had snapped about 15 feet up, the top half crashing onto the path. I am very glad we were not there at the time! The dogs loved sniffing about among the branches whilst I hopped over it to continue the walk, battling against the wind. It was great fun and certainly blew away the cobwebs.
Today I succumbed to printing more of the hares, but then started to play with the dog outlines. I printed them all on one sheet just to see how they worked. Then I started to work out which went together, making little compositions. I do plan to make a large print with all or most of them and probably include some street elements - definitely a lamp post or two! Anyway here are my first proofs.... The photos have come out a bit blue as I took them in natural light in the evening.
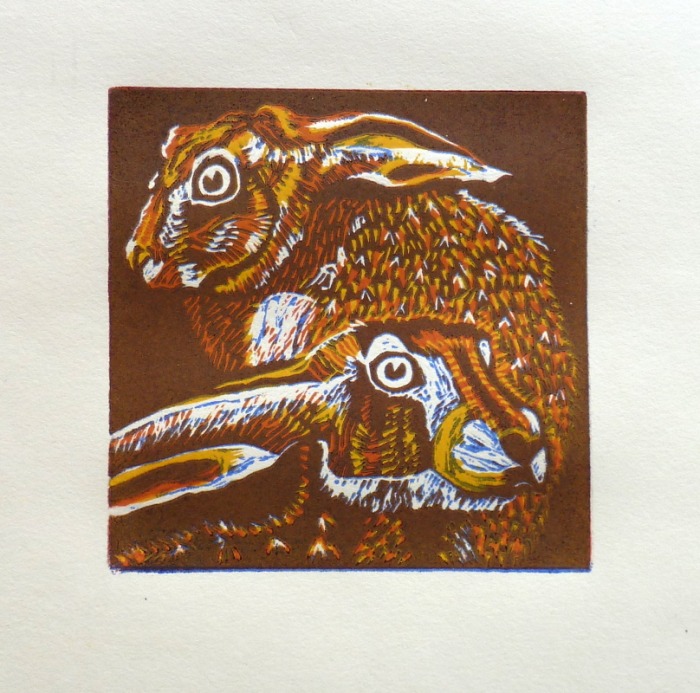
I printed the fourth layer of my reduction print at the Workshop a few days ago. Having initially thought of printing a darker brown, I thought printing in a blue might give a more lively result. So I mixed ultramarine with a little extender and did a test print which I thought worked well. I printed one with just the blue to show the effect it had on the previous layers. There are only small glimpses of blue in the print, but the way it modifies the other colours is exactly what I was looking for.
Only another two layers to go I think. A dark to emphasise the eyes, tips of the ears and shadows, leaving most of the print unaffected. The final layer will be the background, which I plan to do in a contrasting, probably lighter colour. As yet I have no firm idea of what colour that will be, but after living with the next layer for a while I'm sure I will come up with a suitable solution.
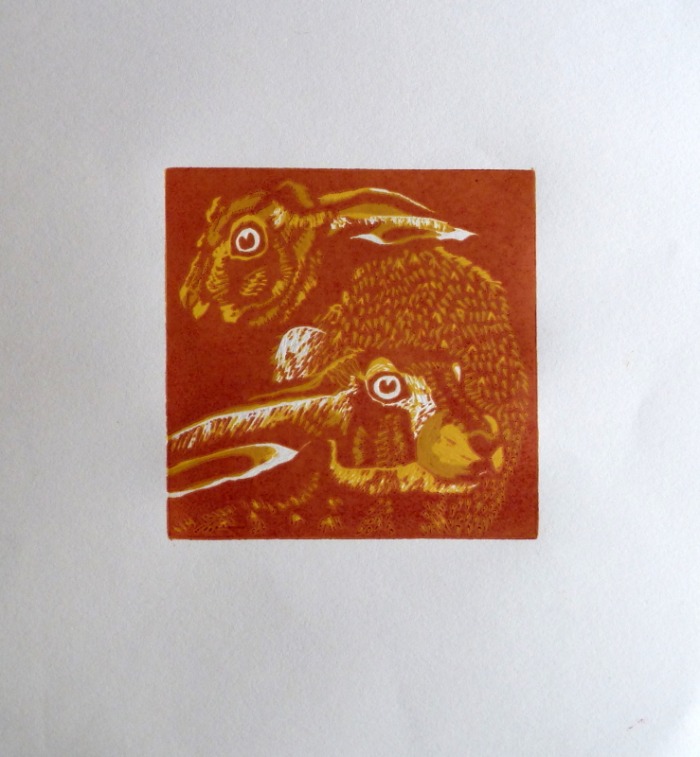
Back at Dunfermline today printing the third layer of my hares reduction lino print. I decided to print it in Magenta with a bit of Raw Sienna and Extender added for translucence, to let the previous colours influence the result. I was very happy with the look of it, giving quite on old fashioned look. Of course the next layers will change it again and I plan to print the background a contrasting colour at the end. I'm sure its final character will still be a surprise, even to me. They never quite turn out the way they appear in your head at the outset. Part of their appeal for me.
I've started a new reduction print for an event in Leicester, called "Small print, big impression". The maximum size is 10 x 10 cm, so that is what I am using. It suits me well as I've always enjoyed working in a square format. I already had a good number of hare drawings in my sketchbooks and these two just seemed to fit perfectly.
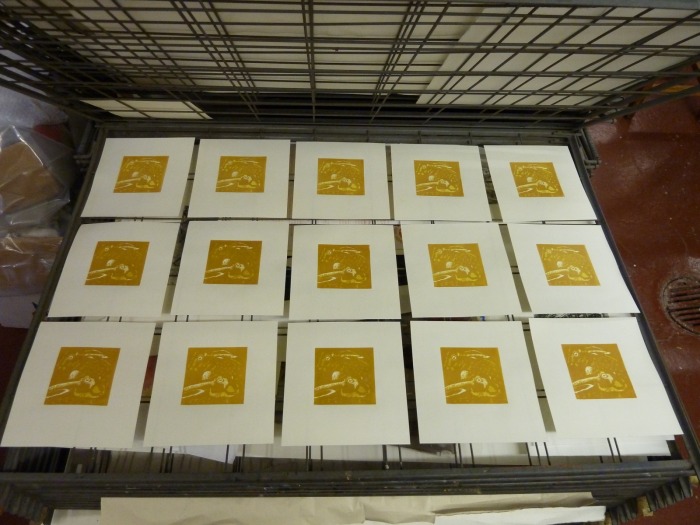
I cut out everything I wanted to remain white then printed my first colour - yellow - in my home studio, using Speedball waterbased ink. Next I went to FDPW in Dunfermline and printed it again with oil based ink.
More cutting back home and the next colour - a yellow/burnt sienna mix.
This is the smallest reduction print I've done and unusually I haven't done a detailed plan of my colours so I'm sure there will be surprises ahead!


 RSS Feed